How to set up SMTP plugin for WP Calorie Calculator and WordPress and how to connect it with Google Workspace or another service
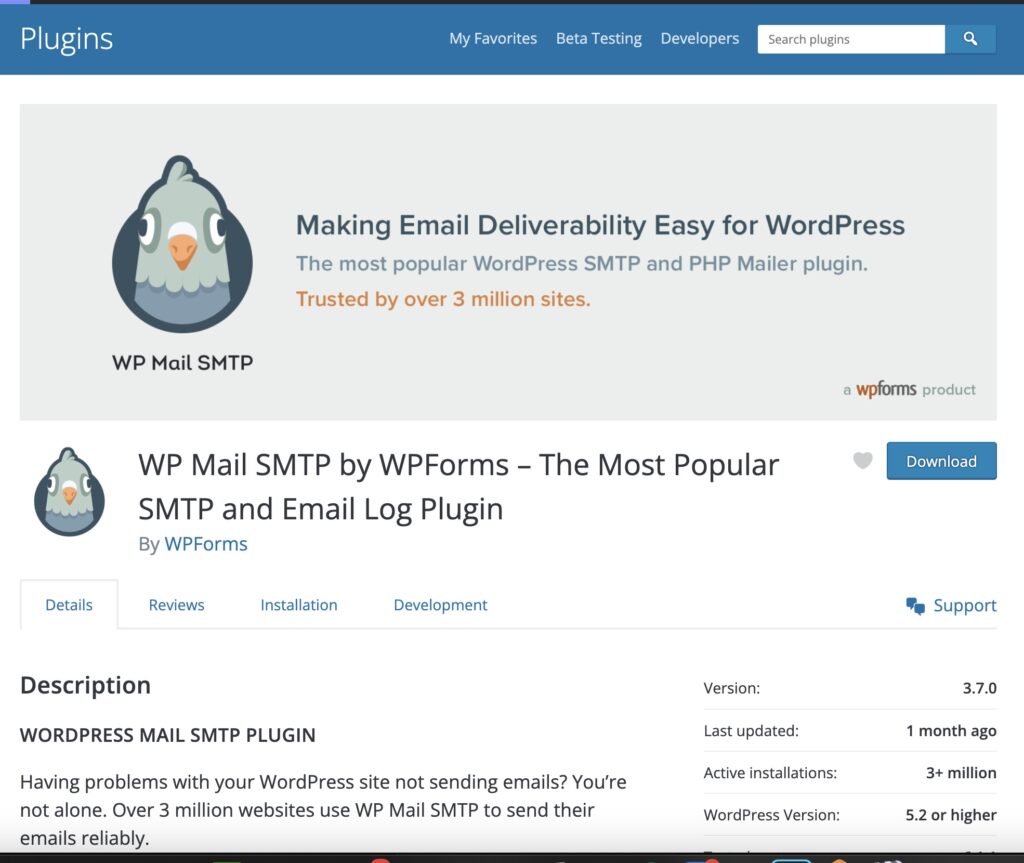
SMTP, or Simple Mail Transfer Protocol, is the standard protocol for sending email messages over the internet. When it comes to sending emails from a WordPress site, the default method is the PHP mail function. However, this method is not always reliable and can lead to issues with email deliverability. This is where an SMTP plugin comes in handy. SMTP plugins, like "WP Mail SMTP by WPForms", can help improve email deliverability by using a more reliable and secure method of sending emails. Additionally, using an SMTP plugin allows you to use your own email service provider, such as Google Workspace, rather than relying on the web host's email server.
Once you've installed the plugin (we'll use WP Mail SMTP in this example), you can proceed to configure the plugin settings which can be found by navigating to WP Mail SMTP in your WordPress dashboard, then selecting "Settings" and looking under the "General" tab.
Fill in the following fields:
- From Email: this is the email address that emails will be sent from
- From Name: the name that will be displayed as the sender
- Mailer: select SMTP (in this example we'll use Google Workspace, you need to have a paid account with them to proceed, but there are no completely free SMTP solutions so Google sounds as a good choice for this)
- Save settings
Then you need to create a Google Workspace API app to use their mailing system for SMTP:
- Go to the Google API Console
- Sign in with your Gmail account
- Create a new project by clicking on the "Select a project" dropdown and then "New Project" button
- Give your project a name and click on the "Create" button
- Once the project is created, click on the "Enable APIs and Services" button
- Search for "Gmail API" and click on the result
- Click on the "Enable" button
- Click on the "Create Credentials" button
- Select "OAuth client ID" as the type of credentials
- Select "Web application" as the application type
- Give the credentials a name, and enter the authorized JavaScript origin and authorized redirect URI.
- Click on the "Create" button
- A client ID and client secret will be generated. Make a note of these
- Go to plugin settings on WordPress and enter the client ID and client secret
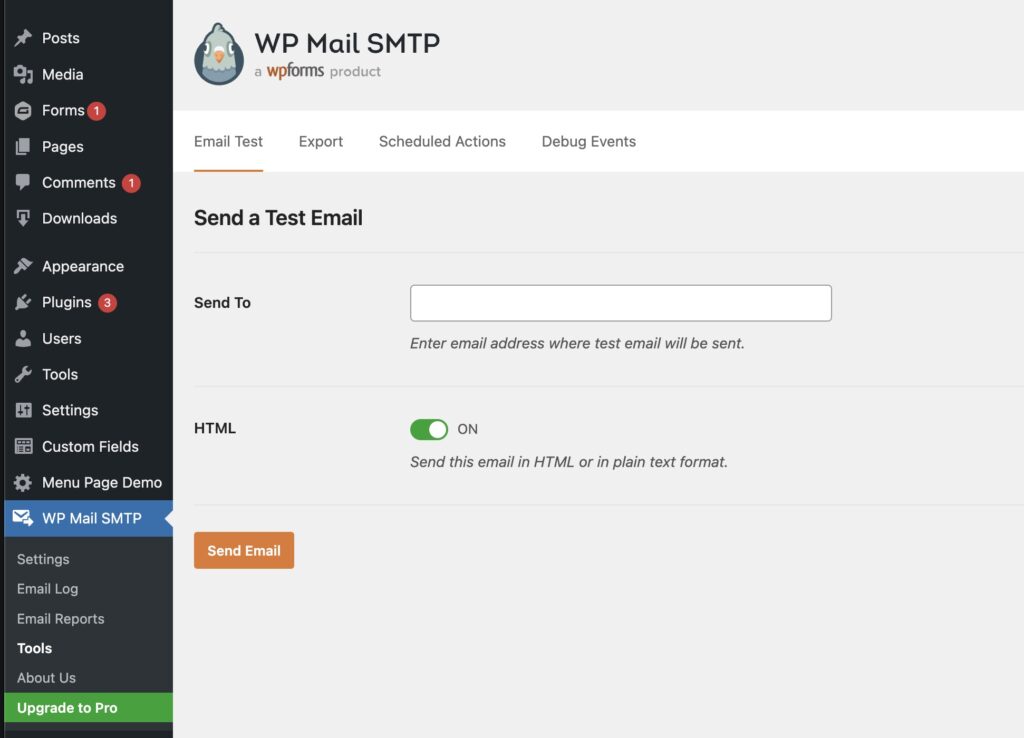
After saving your settings you can go to the "Email Test" tab and try to send an email to your personal address to make sure that you set up everything correctly.
If you have any issues with any of these steps, please follow the more detailed article from plugin developers that can be found HERE.
Read more

Reach a Niche Market with a Specialized WordPress Calorie Calculator

Create a Calorie-Based Recipe Database on Your WordPress Site

WordPress Calorie Calculator as an Educational Tool for Healthy Living

Use a WordPress Calorie Calculator for Long-Term Healthy Weight Maintenance

Make Calorie Counting Easy with a WordPress Mobile Calorie App

Personalize Your WordPress Calorie Calculator with Custom Methods

Get More Social Shares with a WordPress Calorie Calculator Visual

Streamline Client Onboarding with a WordPress Calorie Calculator

Use a WordPress Calorie Calculator to Support Weight Gain Goals

The Role of WordPress Calorie Calculators in Eating Disorder Support

Create a Calorie Tracking Challenge on Your WordPress Fitness Community

Enhance Your Brand: Add Your Logo to Your WordPress Calorie Calculator
Reach a Niche Market with a Specialized WordPress Calorie Calculator
Create a Calorie-Based Recipe Database on Your WordPress Site